Explore the Art of Cloning
BANANAKIT Tutorial
Discover the simple steps to create your own personalized banana clone with our DIY Banana Clone Kit. Perfect for beginners and enthusiasts alike!
Your guide to creating a perfect clone
We’re excited to help you create a unique clone of your penis with our DIY molding kit. Whether you’re a first-timer or an experienced molding enthusiast, we’ve compiled essential tips and tricks to ensure you have a fun, stress-free experience. Let’s get started with some advice to guide you through the process.

Use Warm Water
For the best results, use warm water, not too hot and not too cold. Cold water can cause your “banana” to shrink, affecting the mold’s accuracy. On the other hand, if the water is too hot, the alginate will harden too quickly, making it difficult to get a proper mold. Aim for a comfortable temperature that’s close to body heat.

Team Up for Help and Fun
Making a mold is a unique experience, and it’s even better when you share it with someone else. It’s hard to do everything alone, so having an extra set of hands can make a significant difference. Having a partner or friend assist with the mixing and setup can be very helpful. This allows you to concentrate on the more intimate parts of the process without having to worry about the technical aspects.

Choose a Suitable Location
Although our kit is designed with a no-spill system to minimize mess, it’s best to conduct the cloning process in a location with easy access to water and hard flooring that’s simple to clean. Ideal spaces include bathrooms, kitchens, or other rooms with wood, tile, or concrete floors. This setup ensures that any accidental spills can be quickly and easily cleaned without causing damage. Avoid carpeted or fabric-covered areas to ensure a smooth and stress-free experience.
Step-by-Step Video Guide
Watch our detailed video below to see how you can create your own penis mold using the Bananakit. This easy-to-follow tutorial will guide you through each step, ensuring a perfect replica every time.


STEP 1
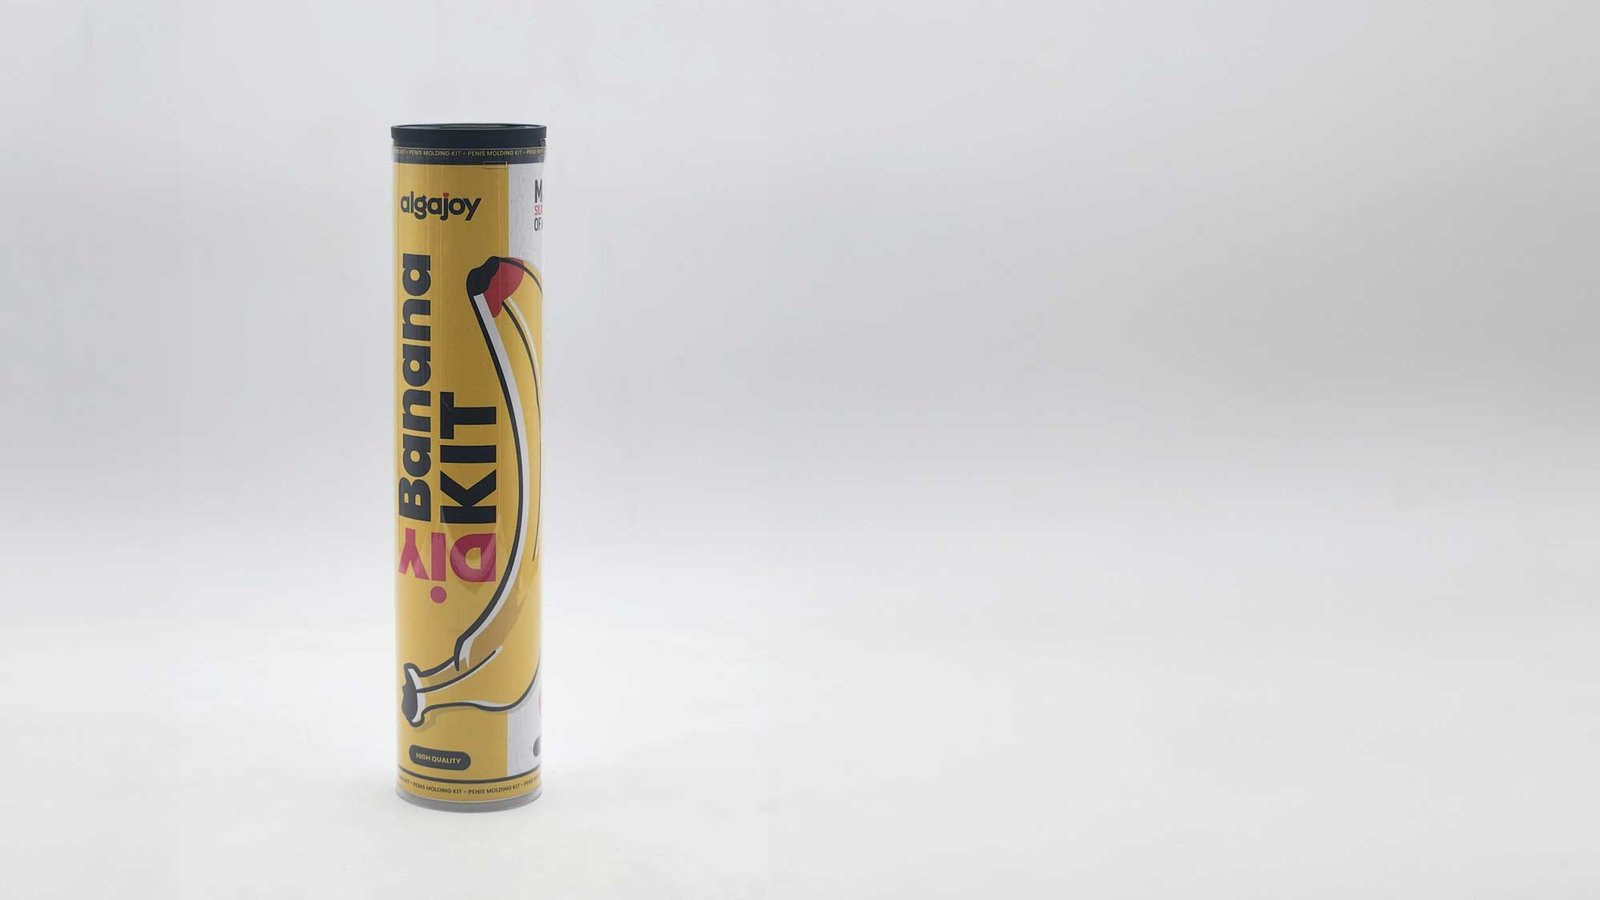
Open the BANANA KIT
Open the Bananakit cylinder and lay out all the materials on your workspace, making sure to read the instruction sheet carefully before you start.
STEP 2
Take your measurements
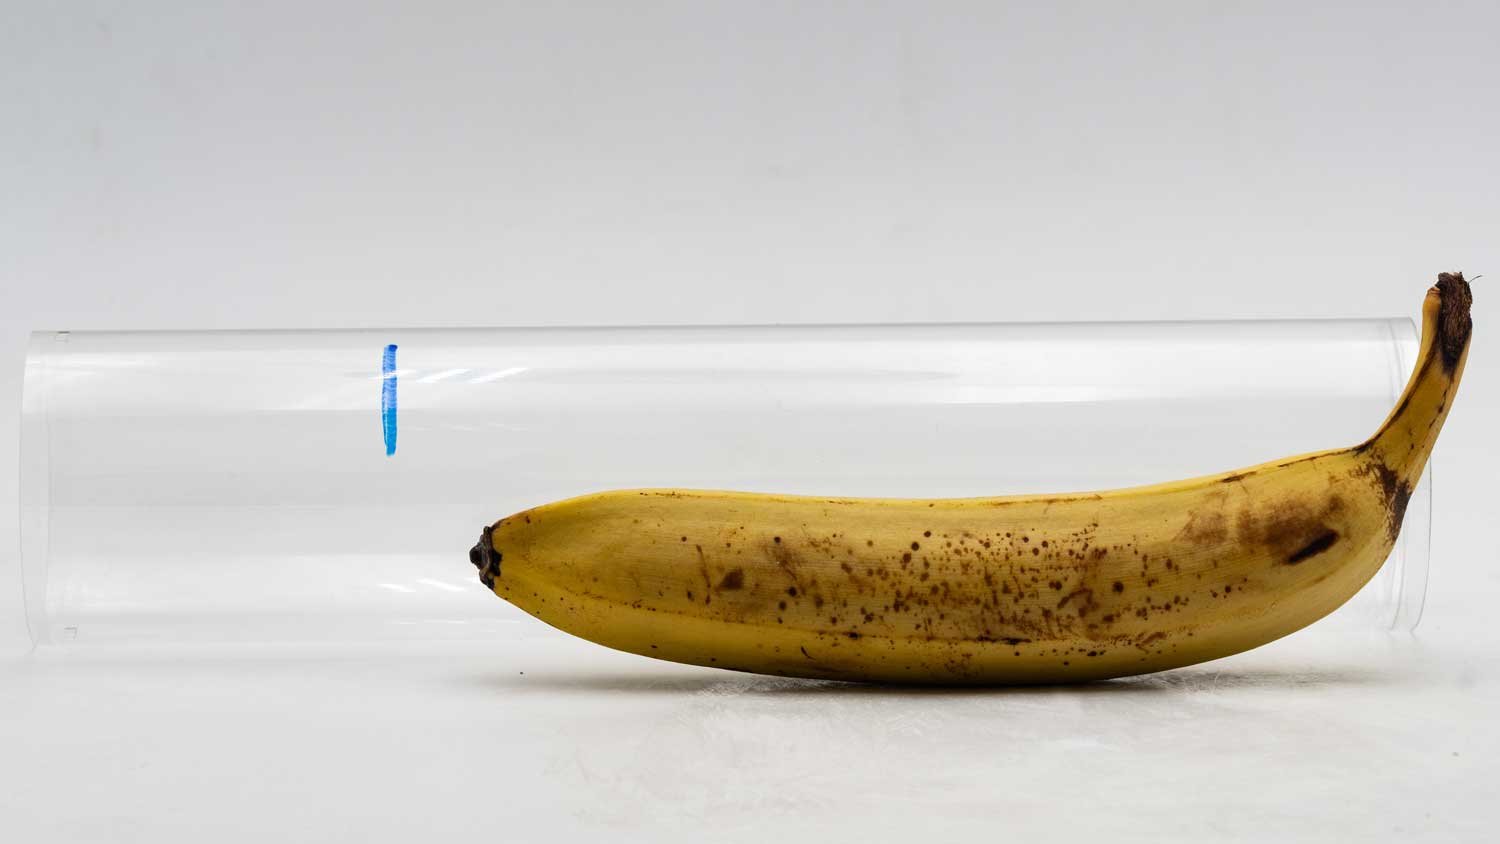
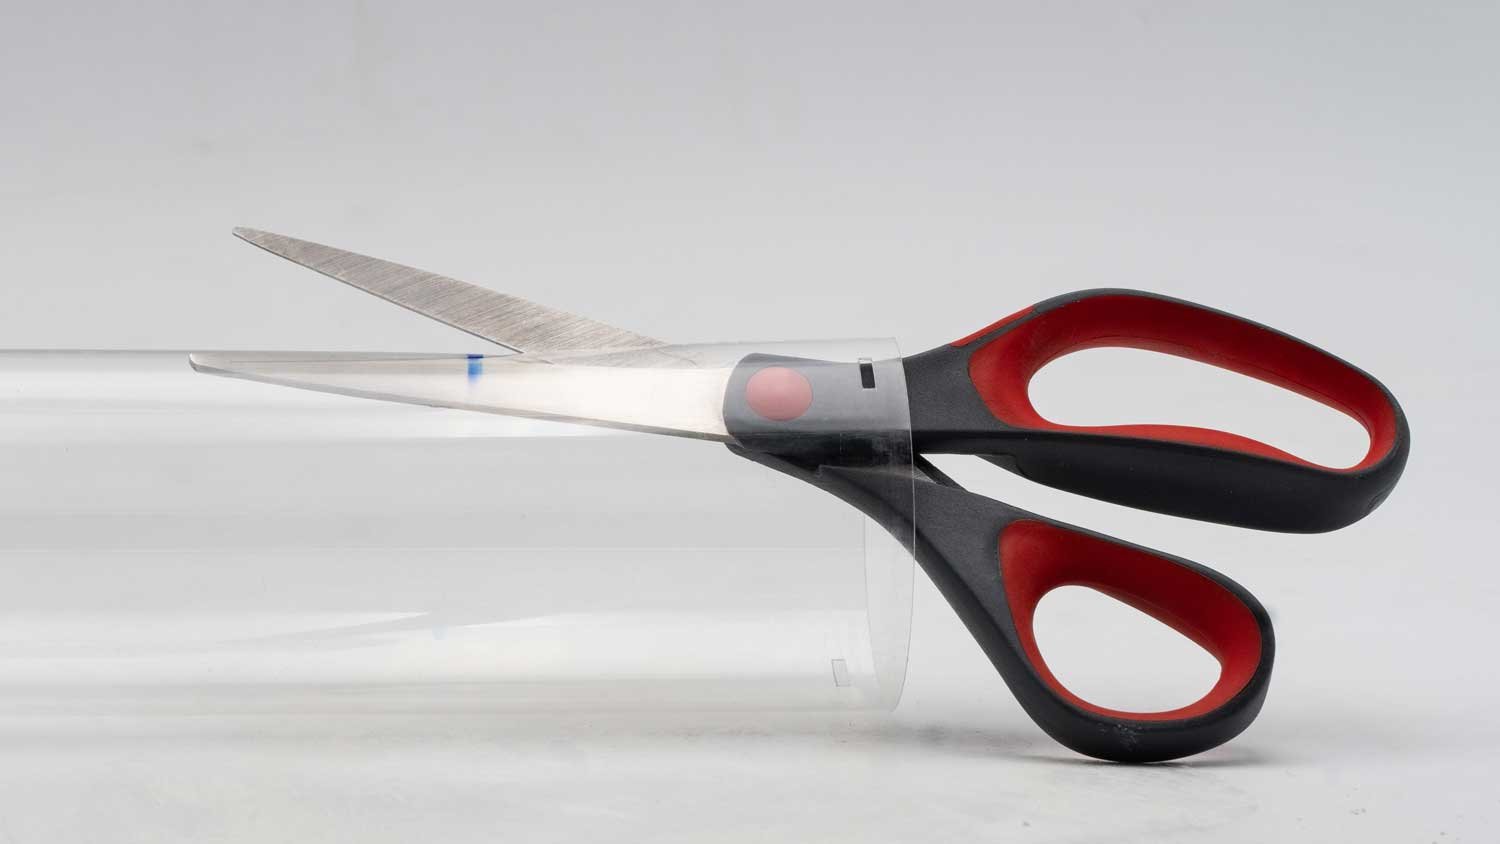
Hold your upright banana near the plastic tube, making sure the open end is facing away from you. Mark a point 2 cm above the tip of the banana, then cut the plastic tube at the mark.
STEP 3
Cut the tube
STEP 4
Prepare the latex sheet
STEP 5
Get warm water
STEP 6
Get warm water
STEP 7
Pour the water
Pour 500 ml of water into a mixing bowl and ensure again that the temperature is between 28 and 32 degrees Celsius.
STEP 8
Mix the alginate powder
Your content goes here. Edit or remove this text inline or in the module Content settings. You can also style every aspect of this content in the module Design settings and even apply custom CSS to this text in the module Advanced settings.


STEP 9
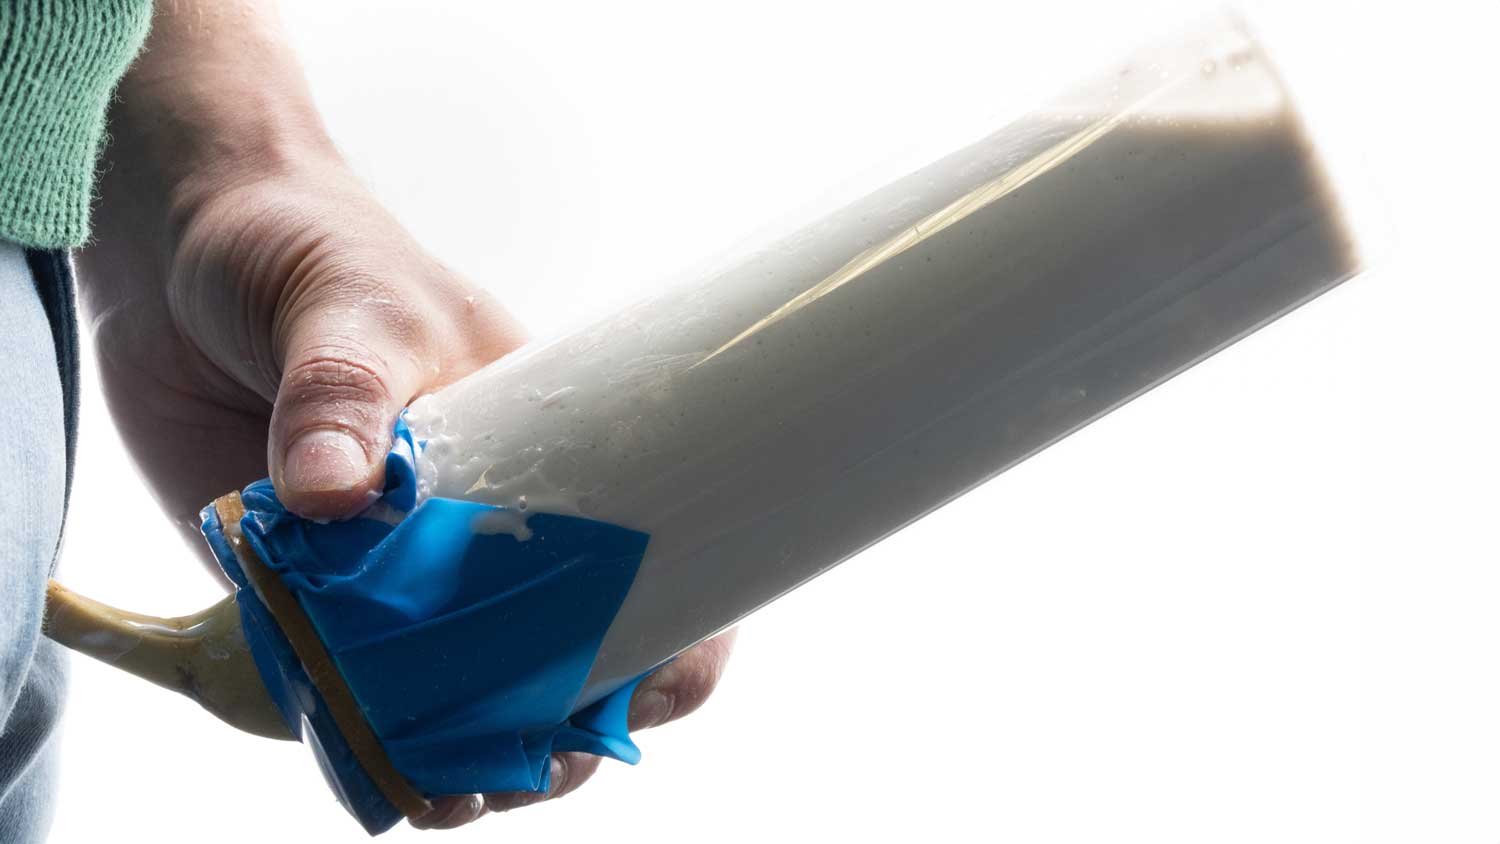
Pour the Alginate into the tube
Your content goes here. Edit or remove this text inline or in the module Content settings. You can also style every aspect of this content in the module Design settings and even apply custom CSS to this text in the module Advanced settings.
STEP 10
Pour the Alginate into the tube
Your content goes here. Edit or remove this text inline or in the module Content settings. You can also style every aspect of this content in the module Design settings and even apply custom CSS to this text in the module Advanced settings.
STEP 11
Apply the latex sheet
Your content goes here. Edit or remove this text inline or in the module Content settings. You can also style every aspect of this content in the module Design settings and even apply custom CSS to this text in the module Advanced settings.
STEP 12
Take the impression
Your content goes here. Edit or remove this text inline or in the module Content settings. You can also style every aspect of this content in the module Design settings and even apply custom CSS to this text in the module Advanced settings.
